Home / Keeping the Rubber Strip Under a Garage Door Sealing Tight
Keeping the Rubber Strip Under a Garage Door Sealing Tight
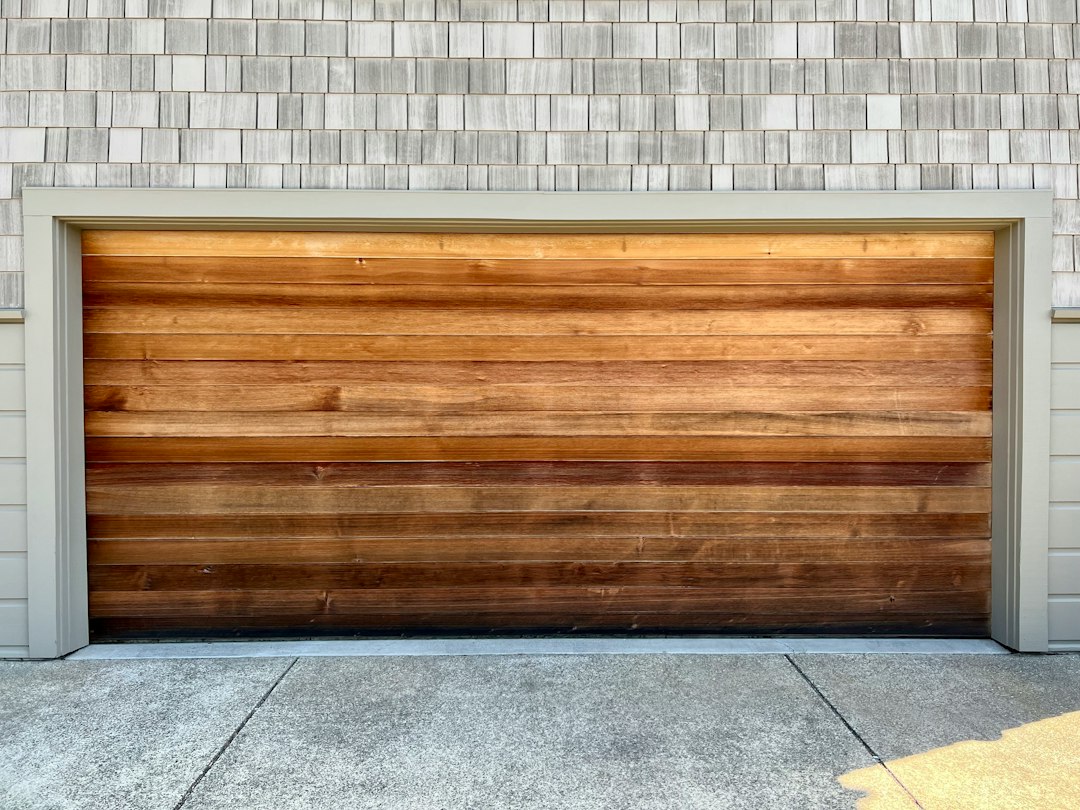
A thin line of daylight along the floor of a closed garage is usually the first sign that the rubber strip on the bottom panel has stopped doing its job. That strip is cheap, easy to ignore and surprisingly important: it is the only part of the door that meets the slab, and it decides whether rain, wind-blown dust, leaves and insects stay outside.
Most owners never look at it until something goes wrong. A short routine, done a few times a year, keeps the seal flexible, catches tears early and tells you when replacement is due rather than overdue.
What the bottom seal actually is
Sectional steel doors usually carry an aluminum or vinyl retainer channel riveted or screwed to the bottom edge of the lowest panel. The seal slides into that channel through two slots. The common profiles are:
- T-style or bulb seals, a flat strip with beads on each edge that slide into the retainer and a hollow loop that hangs below.
- J-type seals, which hook into a retainer with a J-shaped lip.
- Beaded or U-shaped seals, a doubled strip that forms a soft tube against the floor.
Older wood doors and some one-piece doors use a nail-on or screw-on vinyl strip fastened straight to the bottom rail instead of a channel. Some garages also have a separate threshold seal glued to the slab, a raised rubber hump that the door closes onto. That threshold is a different part, but the routine below covers both.
Knowing which type you have matters before you buy anything. Retainer seals are sized to the channel, and a strip meant for one channel profile will not seat in another.
Why a seal fails, and why a working opener can be blamed
Rubber and vinyl harden with sunlight and heat, shrink a little as they age, and crack where they flex. A seal that has gone stiff no longer conforms to dips in the slab, so gaps appear at the low spots. A seal that is torn or partly pulled out of its channel can fold under the door and hold it up off the floor.
That last failure is where people often misread the symptoms. A folded or swollen seal changes how the door meets the floor, and an opener with its close force or travel limit set near the edge may reverse just before contact. The earlier article on chain, belt and jackshaft drives, and on when the opener is not the problem, is worth reading about bottom seal details because a damaged strip is one of the most common reasons a healthy opener gets blamed for a door that will not stay shut.
Around Orange County the usual suspects are clear. Near the coast, the marine layer and salt air work on aluminum retainers, which can corrode and grip the seal so tightly it tears on removal. Further inland, long dry stretches and strong sun bake the strip, and the dry Santa Ana winds push grit under any gap they find.
The routine: four times a year
1. Look with the door closed
Turn the garage lights off on a bright day and look along the bottom edge from inside. Daylight at the corners, at the center or along one side shows exactly where the seal no longer touches. Mark those spots with tape on the slab so you can compare next time.
2. Look with the door open
Raise the door to about waist height and unplug the opener or pull the release only if you are comfortable doing so, so nobody can run it while your hands are near the panel. Check the strip along its full length for:
- Splits, especially near the ends where the seal exits the channel.
- Flattened sections that no longer spring back when pressed.
- Brittle or chalky surfaces that leave residue on your fingers.
- Sections pulled partway out of the retainer.
- Gnaw marks, which suggest rodents are testing the gap.
3. Clean it
Wipe the seal with warm water and a mild dish soap, then rinse and let it dry. Sand, grit and leaf litter trapped against the rubber act like sandpaper every time the door closes. Clean the slab under the door as well, since a ridge of debris lifts the seal off the floor just as surely as a worn strip does.
4. Condition it
A light coat of silicone spray or a rubber conditioner keeps the material supple. Avoid petroleum products such as general purpose oils or grease, which can soften and swell some rubber compounds and also attract dirt. Wipe off any excess so the strip does not leave a slick line on the floor.
Adjusting before replacing
Not every gap needs a new seal. Before buying anything, check these:
- Is the slab uneven? Older garages often have a slab that settled or slopes toward the drive. A standard seal can only bridge so much. A taller bulb profile or a threshold seal on the floor may close a low spot that no bottom strip will.
- Is the door level? If one side of the bottom panel sits higher than the other, the cause is usually spring or cable tension on that side. That is a job for someone trained to work with torsion springs, which store a great deal of energy.
- Is the close limit right? On many openers the down travel limit can be adjusted so the door presses the seal a little further into the floor. Change it in small steps, and run the safety reversal test after every change.
That test is simple: lay a piece of 2x4 flat on the floor in the door's path and close the door. It should touch the board and reverse. Then break the photo eye beam with something solid while the door closes; it should reverse again. If either test fails, stop using the opener until the setting is corrected.
Replacing a retainer seal
When the strip is torn, hard or shrunken, replacement is a straightforward job on most sectional doors.
- Raise the door to a comfortable working height and secure it so it cannot drift down. Locking pliers clamped on the track just below a roller is a common way to hold it.
- Pull the old seal out of one end of the retainer. A small amount of soapy water sprayed into the channel helps it slide.
- Clean the empty channel with a brush and inspect it for corrosion, bent lips or loose fasteners. A crushed retainer will not hold a new seal, and replacing the retainer is a separate step.
- Lubricate the beads of the new seal with soapy water and feed both beads into the slots at one end. One person feeds while a second pulls gently from the far end.
- Trim the new strip so it extends a little past each end of the door, which helps block the corners where wind and water enter first.
- Lower the door and check for daylight again.
Buy the seal by matching the retainer profile and the width of the door, and measure the gap between the two bead slots in the channel before ordering. When in doubt, take a short piece of the old strip to the supply house.
For nail-on vinyl strips on wood doors, remove the old fasteners, scrape the bottom rail clean, seal any bare wood with paint so it does not wick water, and fasten the new strip with galvanized or stainless fasteners so rust does not stain the door.
Signs the seal is due now
- Water tracks across the floor after rain or after sprinklers run.
- Leaves or dust collect in the same corner inside the garage.
- Insects, spiders or lizards appear along the inside of the door line.
- The garage feels noticeably warmer or colder than it should.
- The door bounces back up just before closing and the opener settings have not changed.
Any one of these is enough to pull the door up and look.
Fitting the routine into the year
A practical rhythm is to look at the seal at the start of each season, and again after any heavy rain or a windy stretch. In Orange County that often means checking after the first winter storms, again after a dry wind event, and once more in late summer when the strip has spent months in strong sun.
Keep a short note of what you find, including where the daylight showed and when the seal was last replaced. Over time it becomes clear how long a strip lasts on your particular slab and exposure, which takes the guesswork out of the next replacement.
The archive at garage door repair huntington beach field covers the other parts that wear alongside the seal, including rollers, hinges and the opener drives themselves, and the same habit of looking before replacing applies to each of them.